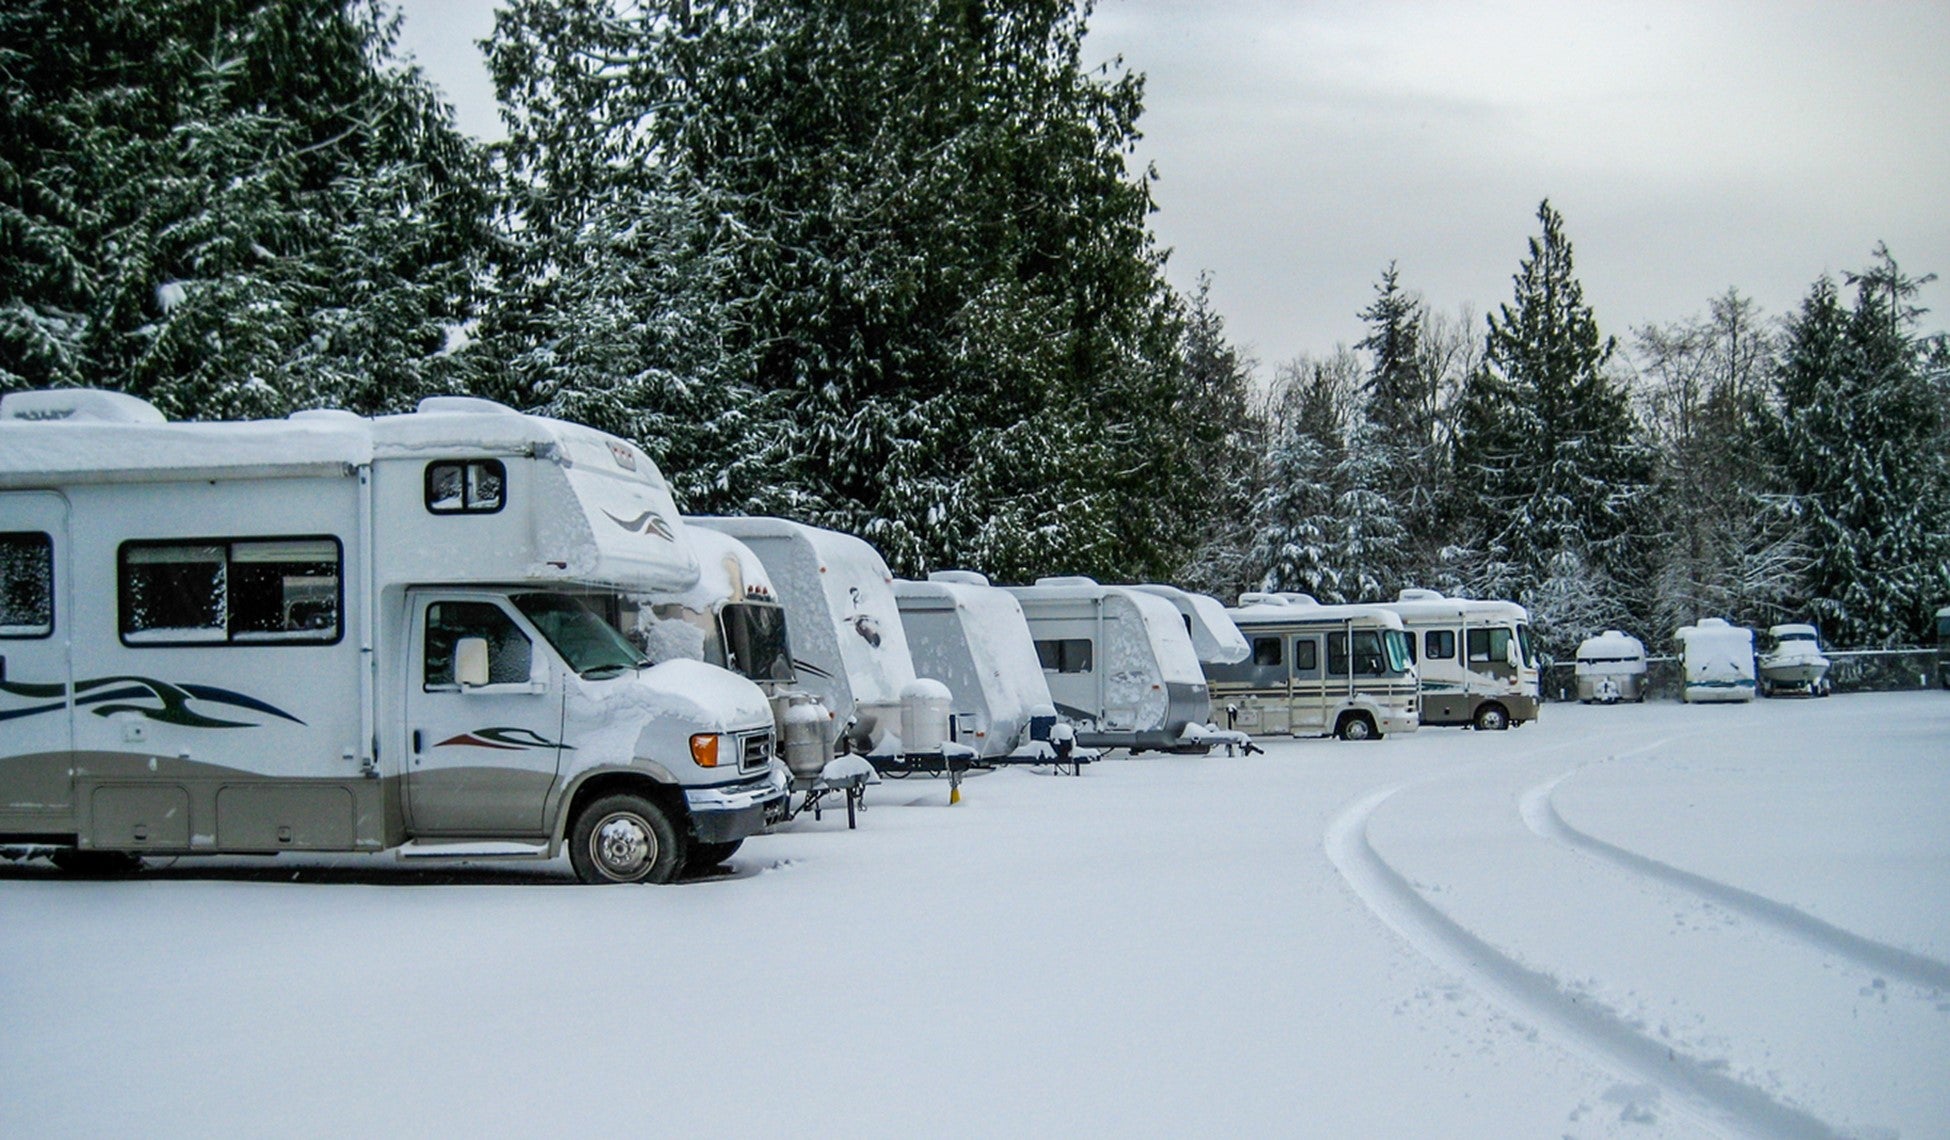
Learn how to winterize your RV or camper properly with help from Boat & RV Accessories.
We understand that some jobs bring sadness, and winterizing your RV is certainly one of them. Winterizing means that you are about to coop up in your home for a few months, without any chance to travel and see this country's beauty up close.
But the dangers are too great. Driving a car is hard enough in winter weather, and many RV owners are simply not trained enough to handle a larger vehicle on icy or snow-covered roads. Additionally, the undercarriage components may suffer damage from the extra grit, ice chunks and other accumulations on the road.
To best protect yourself, your family and friends, other drivers and your investment, it's best to close up that RV for the season, and plan for spring.
When to winterize
The general answer to this question is simple: When temperatures start to fall. But some of you are made of sturdier stuff and stretch camping for as long as you can, so here are some more specific indicators:
- When temperatures are consistently 20 degrees F or lower.
- When you are unable to heat and insulate your undercarriage.
- When you do not have any heated tanks.
- When you are boondocking - camping without any connections to power, water or other utilities.
Biggest threat: Water
The main goal of winterizing is to mitigate the damage that water causes. Freezing water is obviously the biggest threat, but you are also fighting against mold, mildew and corrosion. That means most of what you'll be doing is draining, flushing and then applying some antifreeze. Time to follow your owner's manual, here: It should have a list of supplies and recommended products
First remove any water filters - you don't want antifreeze hitting those. Once they are out, time to drain and flush anything and everything: Water tanks, black tanks, gray tanks, hot water heaters, everything.
You'll want to ensure all faucets are open. You can use your water pump to help with this process, but make sure it is switched off once water pressure is low. When it comes to hot water heaters, make sure they are turned off, and make sure a bypass kit is installed before applying antifreeze. Give everything time to drain and flush properly - a minimum of 15 minutes.
Antifreeze
Once you're done, replace all the drain plugs and prepare to pump antifreeze into your system. Your RV's plumbing systems should be filled with it in order to prevent any freezing damage. Ensure you are using a non-toxic antifreeze for RVs - your owner's manual has more information.
In a nutshell, you're going to pump water into every line. Once you have antifreeze prepared at your pump, you'll start with the faucet closest to the pump and run it until you see antifreeze, then repeat this process for all your sinks and faucets - don't forget that outdoor shower. Then it's time for toilets: Flush 'em until you see the antifreeze. After that, you can pour an extra cup of antifreeze down each sink and toilet just to ensure your lines are filled and drained into the gray tank.
Once that is done, you're ready to cover and store your RV up, then dream about the next great adventure you'll take once spring arrives.

